Monday, January 22, 2007
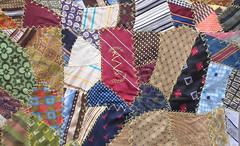
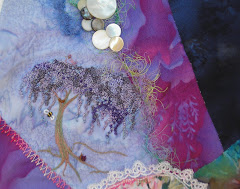
Gaga quilt restoed (closeup)
Posted by
piney cq
at
9:52 AM
2
comments
![]()
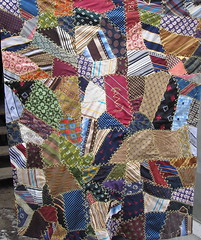
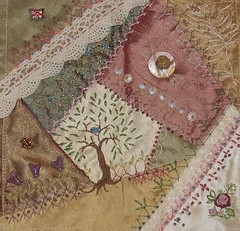
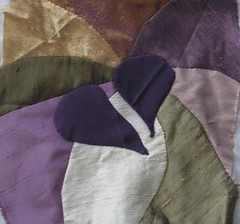
Gaga's quilt restored
Posted by
piney cq
at
9:47 AM
3
comments
![]()
Thursday, January 11, 2007
TAST Button Hole Stitch
Posted by
piney cq
at
7:24 AM
2
comments
![]()
Labels: crazy quilting, embroidery
Wednesday, January 10, 2007
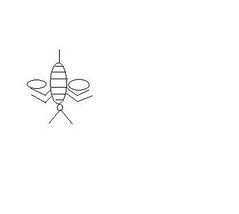
Bee diagram
Posted by
piney cq
at
4:56 PM
0
comments
![]()
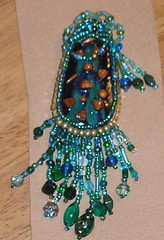
Cabachon pin
Posted by
piney cq
at
4:18 PM
1 comments
![]()
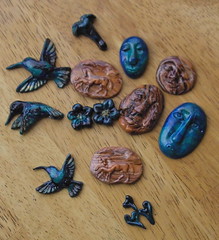
Fimo explorations!
Posted by
piney cq
at
4:10 PM
3
comments
![]()
New additions!
Posted by
piney cq
at
4:07 PM
2
comments
![]()
Snowwwwww!!!
Posted by
piney cq
at
4:04 PM
0
comments
![]()
Thursday, January 04, 2007
Honey Bee tutorial cont.
Posted by
piney cq
at
5:22 PM
2
comments
![]()
Honey Bee tutorial cont.
Posted by
piney cq
at
5:14 PM
0
comments
![]()
Honey Bee tutorial cont.
Posted by
piney cq
at
5:11 PM
0
comments
![]()
Labels: Brazilian embroidery, crazy quilting, embroidery
Honey Bee tutorial cont.
Posted by
piney cq
at
5:09 PM
0
comments
![]()
Honey Bee tutorial cont.
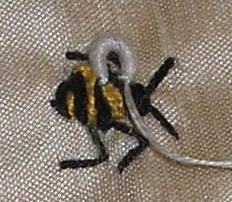
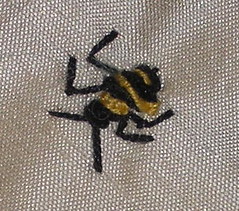
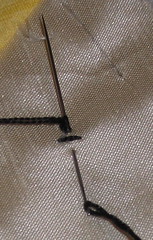
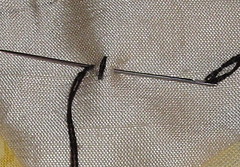
Now, for the antennae, bring your needle and thread to the top of the fabric approximately a quarter of an inch and to the right of the head, pulling the thread completely through the fabric. Move directly to the left, about a quarter of inch ( I eye this to make it look more realistic. All the "measurements" I am giving you are just approximations) and take the needle to the back of the fabric, then back up in the middle, right beside the pearl knot. Take this slowly, making sure that you catch the loop of thread. You will then tack the thread down by pulling the needle over the loop and back to the back of the fabric. Repeat these fly stitches four more times for the legs as shown here.
Posted by
piney cq
at
5:05 PM
2
comments
![]()
Honey Bee tutorial cont.
Posted by
piney cq
at
4:47 PM
0
comments
![]()
Honey Bee tutorial cont.
Posted by
piney cq
at
4:40 PM
0
comments
![]()
Honey Bee tutorial cont.
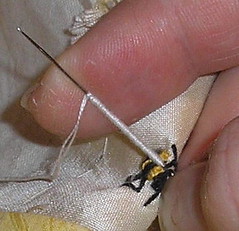
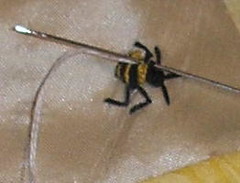
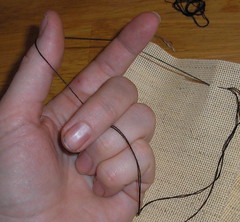
The cast on stitch is done the same way that you would cast yarn onto a knitting needle. Basically it is a slip knot....for lack of a better term. Once you have placed your needle thru the fabric (taken a bite out of the fabric) you will start "casting on" stitches. Pick up your thread with your left hand, creating a semi circle that will allow you to loop the thread over the needle. Twist your hand in-ward, counter clockwise to close the circle and drop the loop over the needle. The first batch will be only three stitches. For more visual references, check out Sharon B's Stitch Dictionary..... http://inaminuteago.com/stitchdict/stitch/caston.html
Posted by
piney cq
at
4:37 PM
0
comments
![]()
Honey bee tutorial cont.
Posted by
piney cq
at
4:29 PM
0
comments
![]()
Honey Bee Tutorial Cont.
Posted by
piney cq
at
4:24 PM
0
comments
![]()
Honey bee tutorial
to
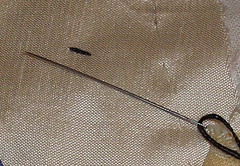
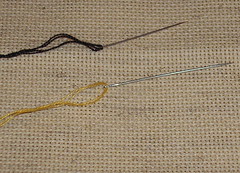
I belong to the Hand-Embroidery group over at yahoo. They are a super group of folks and the owner Lillian and moderator, Melissa are just great! Long story short, Melissa has a blog, http://www.honeybeesbliss.blogspot.com, titled such for the meaning of her first name! At any rate, she saw the dimensional embroidered bee here that I had stitched on a pin cushion and wanted to know how to make it. Hmmmm.... wonder why? LOL!!! Soooo....i'm going to attempt to do a little tutorial here. If anyone has a question about any of the steps, please let me know and I will do my very best to help out! Also, if you are not familiar with the cast on, bullion or fly stitches, I would recommend that you practice on a "doodle cloth" before you jump into creating the bee on a block. The stitches are easy once you are familiar with them, but can be a little frustrating at first. DON'T let it stop you! Like anything in embroidery, practice and just relaxing to enjoy the process are all you need to start creating dimensional embroidery!To start out, you want thread two millners needles. I used size 11. One with black, the other with yellow. It's important to use millners needles as the cast on stitches and bullion stitches as the eye of the needle is the same dimension as the needle itself and will allow the stitches to slide easily off the needle. I prefer to use Edmar rayon thread, but don't always have it on hand, so will also use DMC embroidery thread (as shown here.) I vary the number of strands that I use as sometimes I want a bee that is larger (or smaller) than the example that I am going to show you. For this particular BEE I used two (2) strands of DMC thread. The bee will be approximately 1/2" when complete. We will be using the fly, cast-on and bullion stitch to create this little "Hummer"!!
Posted by
piney cq
at
4:19 PM
2
comments
![]()
HBVariation5
Another addition to my Take A Stitch Tuesday! (www.inaminuteago.com).
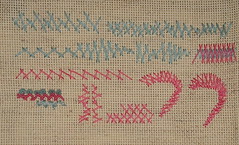
This bit I did before I accidentally "found" the fish! :_) I was experimenting with changing the sizes of the stitches withing the row as well as their location. I like this idea from the perspective of creating the image of a fence on a block. It has potential if lazy daisy stitches or fly stitches are added to it as well. I'll have to continue to play with this one!
Posted by
piney cq
at
8:00 AM
1 comments
![]()
HBVariation4
Posted by
piney cq
at
7:40 AM
0
comments
![]()
Take A Stitch, HB Variation
Posted by
piney cq
at
6:56 AM
0
comments
![]()
Tuesday, January 02, 2007
Melissa's DYB block
Posted by
piney cq
at
4:59 PM
3
comments
![]()
ArtBra Block
Posted by
piney cq
at
9:42 AM
1 comments
![]()
Herringbone variation
Posted by
piney cq
at
9:28 AM
4
comments
![]()

